Drying and Painting Non Fired Clay Projects
Here is how to paint non fired clay projects. (This same technique works very well on fired clay projects) Written instructions continue below.
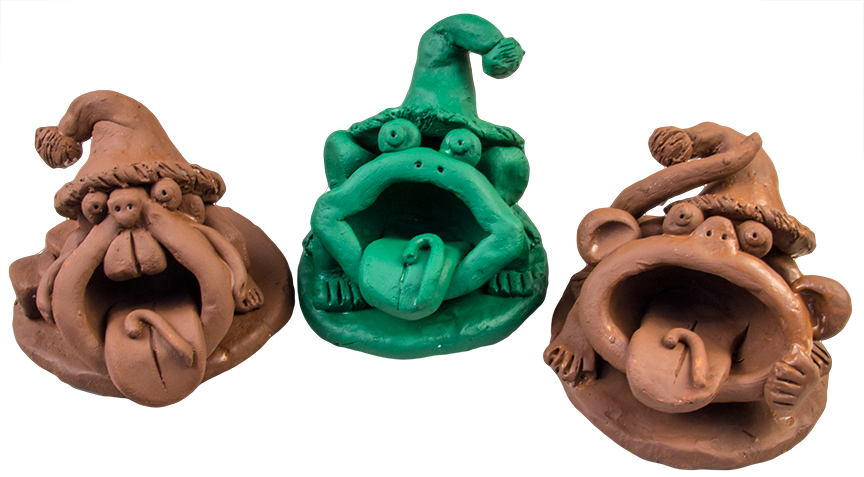
When the projects have been completed, place them all together on a flat surface and lightly cover them with the plastic sheet provided over night to allow them to “equalize”. (This just means the moisture content in all the big and little pieces reaches the same level.) The next day uncover them for about 4 hours, then cover them again through the second night. After that they must be left open to completely dry. Before you paint make sure the clay is dry. It will change from dark grey to light grey, almost white. When the project has turned colour all over, it is time to paint. It is very important they are completely dry so if in doubt wait another day or two. When they are completely dry it is time to paint!
PAINT THE BOTTOMS FIRST
We suggest painting be a “team” activity with students working in pairs for the initial paint applications. One student can hold a project so its bottom is facing up and the other student can apply paint. The paint dries rapidly so the student can hold the project for a few minutes before setting it down on the paper. Once all the bottoms are done then the students can work on their own. Acrylic paint will wash off of hands but may not wash out of clothing. Wear your painting clothes or a smock (a garbage bag with holes cut in it works fine!)
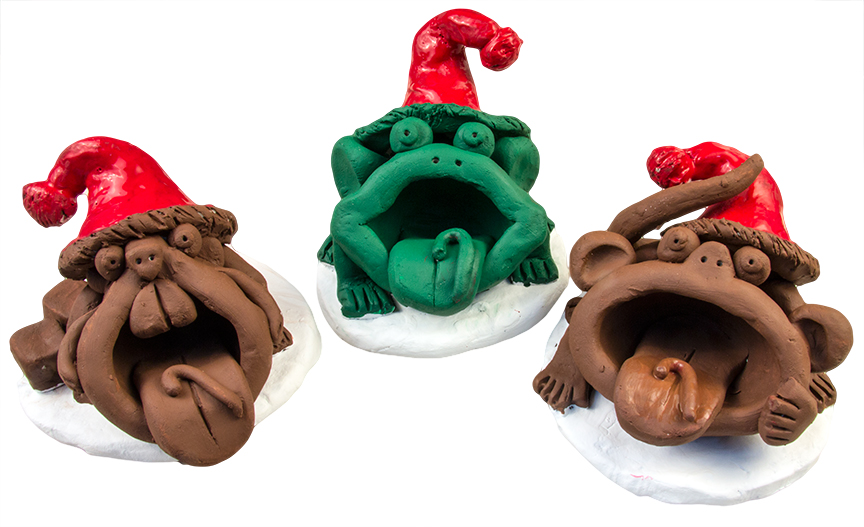
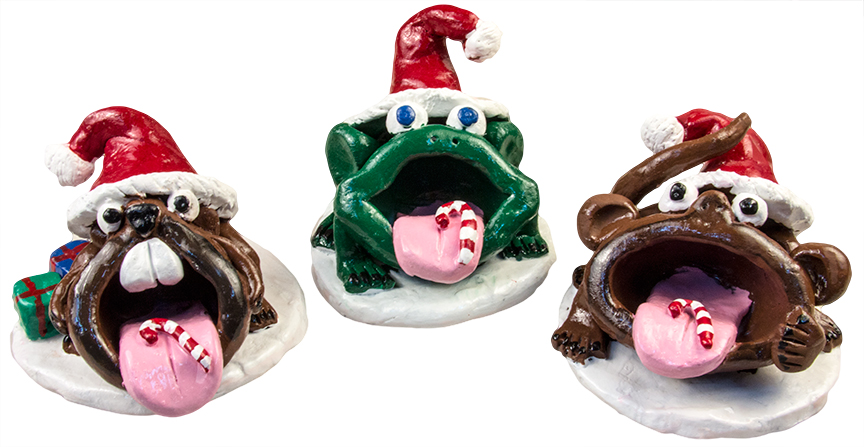
Choose one colour to paint the project in two stages as described next, and when it is dry, you can decorate and accentuate in different colours. For example, when painting a Christmas, winter, or arctic scene, paint the entire piece white and then add red and green trim. (Any acrylic paint will work just fine)
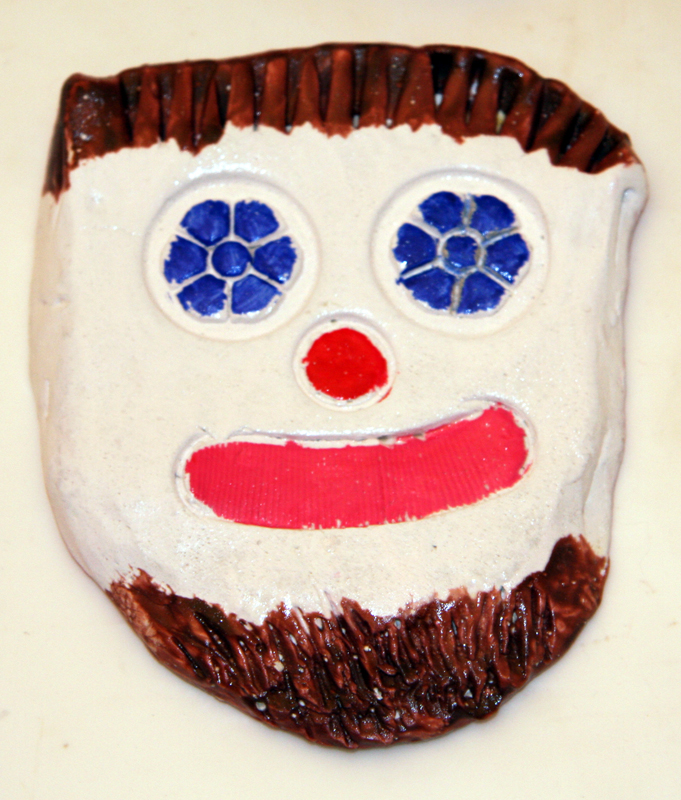
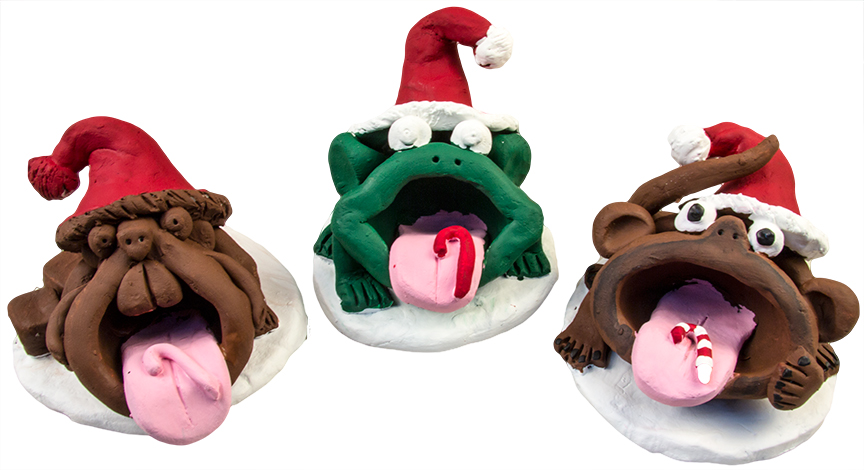
A good second choice for paint is tempera or poster paint. Here are a couple of examples
.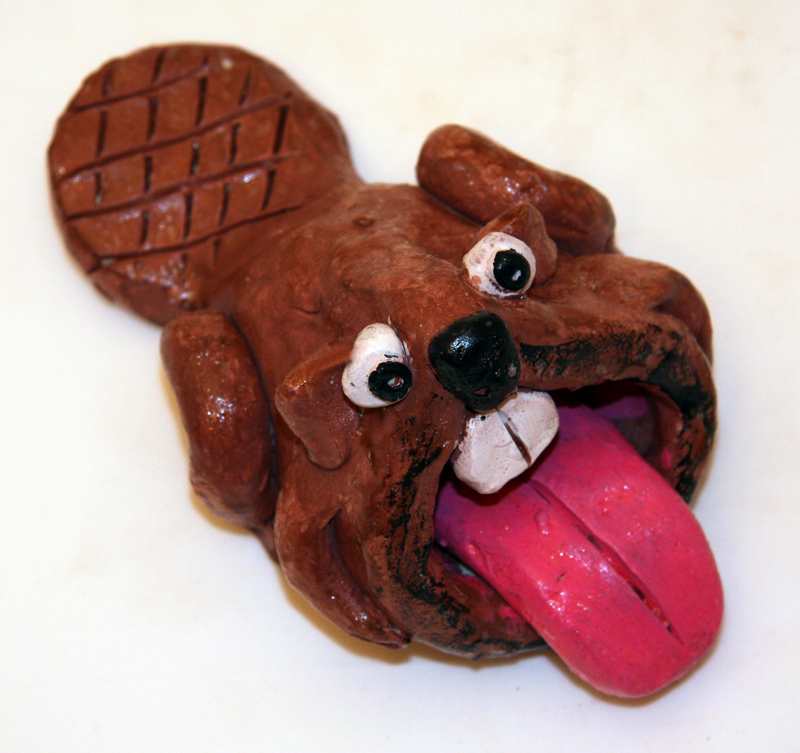
 Click to enlarge
Follow the same painting instructions and be sure to apply a paint on low odour gloss finish as the final step. Allow to thoroughly dry before handling.
. Apply two coats of paint to the bottom and up the sides a bit, allow to dry,

turn the project over and with the dry bottom side down, apply two coats to the top. The acrylic paint will soak into the clay. It is better to use more paint than less.
ALL SURFACES MUST BE GENEROUSLY COVERED
If a piece of the sculpture should come loose there are two ways of reattaching it. The number one method is to use paint as glue, put a blob between the pieces and stick! You can also use a glue gun, however you must paint both surfaces, allow to dry, then glue gun them together. After the glue sets, paint again.
PLEASE NOTE Glue will stick to painted surfaces but NOT to the bare clay surface.
When painting a Christmas, winter, or arctic scene, paint the entire piece white and then add red and green trim.
In all cases, when the paint is dry, use a paint on sealant/finish.(We use DecoArt Triple Thick thinned with one part water to three parts sealer)You may also use spray on Krylon® Low Odour Clear Gloss Sealant .(It is available at Canadian Tire® and Michaels® and sometimes Walmart)
The sealant is low odour, meaning it does have a bit of an odour, however it is not harsh at all and dissipates quickly.
When applying the sealant, as with the paint, seal the bottom first. Allow the bottom to completely dry, for a minimum of at least one hour, then seal the top. If the sealant sticks to the paper and removes some paint revealing the clay, simply reapply the paint to the spot and spot seal it again.
Download these instructions (minus pictures) Word® Document or PDF (requires Adobe® reader)
![]()
Finishing tips are on video in every one of our free video projects. Choose a project and fast foward to the drying and painting section. Visit our YouTube Channel for more clay projects , videos, and tips.